Ask the Groom: Am I Putting My Horse's Standing Wraps On Correctly?
Posted by John Nunn on Jul 2nd 2026
I know standing wraps can be helpful, but I'm never sure when my horse actually needs them. Should I wrap after every ride, only after a hard workout, or just for injuries? And honestly... I'm terrified I'll put them on wrong. If they're a little too tight or uneven, could I actually do more harm than good?
— Wrapped Up in Worry
Dear Wrapped Up in Worry,
If you've spent more than five minutes around horses, you know they have a supernatural ability to find the single sharp object in a padded room. Whether your horse is recovering from an injury, prone to stocking up in the stall, or simply needs support after work, knowing how to apply a proper standing bandage is one of the most valuable horsemanship skills you can learn.
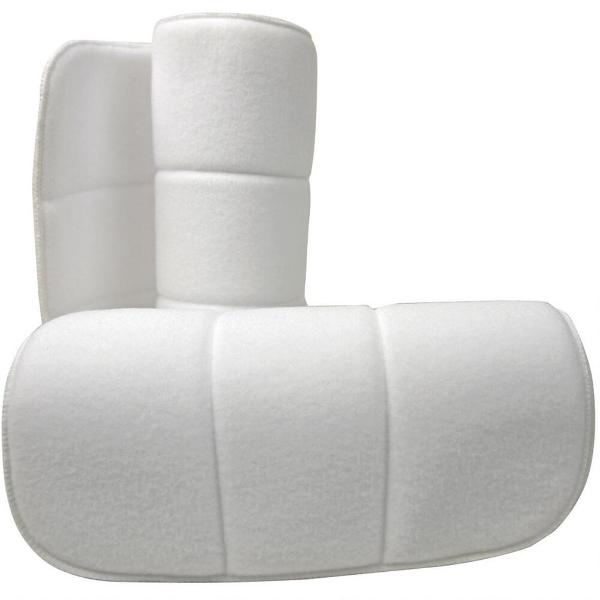
Using Vacs No-Bow wraps paired with high-quality Vac’s Standing Bandages is the gold standard
for stall wrapping. No-Bows are specifically designed to distribute pressure evenly, drastically
reducing the risk of the dreaded "bandage bow" (tendon damage caused by uneven pressure).
But even with the best equipment, technique is everything. Let’s break down exactly how to
wrap like a pro.
The Golden Rules of Bandaging:
Before we even touch the leg, commit these three rules to memory:
1. Clean and Dry: Never wrap a wet or dirty leg, and ensure your wraps are free of debris.
Trapped dirt or moisture can cause severe skin irritation or infections.
2. Smooth is Safe: Every layer must be completely flat. Wrinkles cause pressure points, and
pressure points cause tendon damage.
3. Direction Matters: Always wrap front-to-back. For the left legs, wrap counter-clockwise.
For the right legs, wrap clockwise. This ensures you are pulling the bandage across the
front of the cannon bone, rather than pulling the tendons backward.
What You’ll Need
- A pair of clean Vacs No-Bow wraps (12" or 14" are standard for most horses' front legs;
14" or 16" for hind legs).
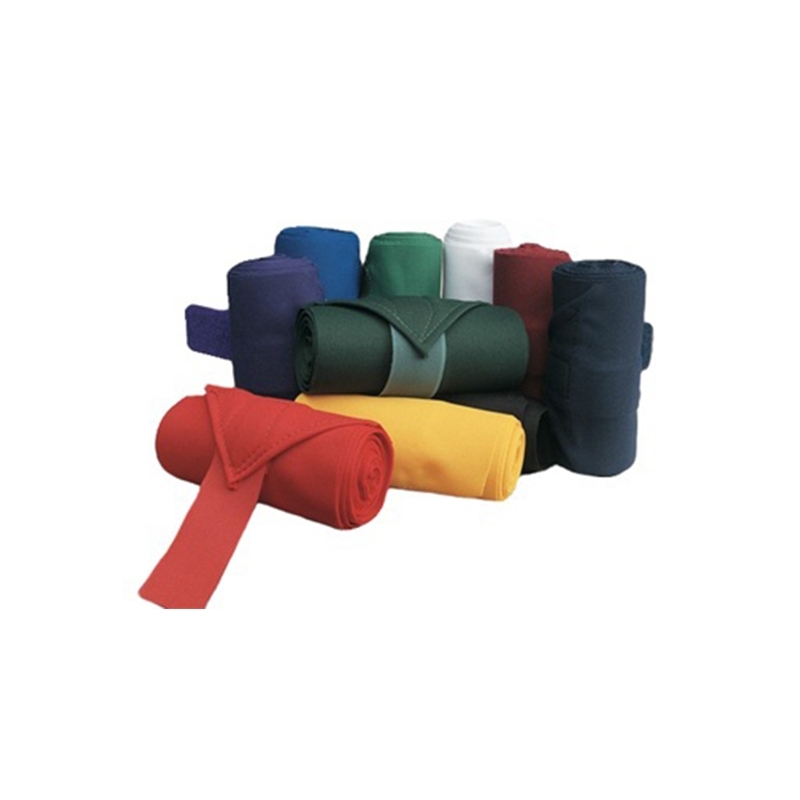
The horse should be hand held or tied so movement is limited. Never going to get a “good bandage” if the horse is moving.
Step-by-Step: Wrapping the Leg
Step 1: Position the No-Bow Wrap
Place the No-Bow wrap flat against the inside of the horse’s cannon bone. Wrap it around the
leg tightly and smoothly, following the direction rule (counter-clockwise for left legs, clockwise
for right legs).
Pro-Tip: The wrap should start just below the knee or hock and extend down to just below the
ankle (fetlock joint). You want the wrap to overlap itself smoothly, usually ending on the
outside of the leg.
Step 2: Anchor the Standing Bandage
Tuck the end of your standing bandage about an inch inside the fold of the No-Bow wrap on the outside of the leg. This locks it in place. Begin wrapping in the same direction as the No-Bow. Your first turn should be around the middle of the cannon bone to secure the wrap.
Step 3: Work Your Way Down
Wrap downward with consistent, moderate tension. Each layer should overlap the previous one
by exactly 50%.As you reach the bottom, wrap snugly around the fetlock joint, forming a clean "V" shape at the front of the ankle to support the joint without restricting comfort.
Step 4: Head Back Up
Once you’ve secured the bottom, begin wrapping back up the leg using the same 50% overlap
technique. Keep your tension uniform. Do not yank or pull hard on the bandage; let the
elasticity of the fabric do the work.
Step 5: Secure the Bandage
Fasten the hook-and-loop (Velcro) closure at the top of the leg.
Crucial check: The Velcro should always end on the outside of the horses' leg, facing
backward. This prevents the horse from accidentally rubbing it open with their other
leg.
The Final Safety Inspection:
Once you’re done, step back and evaluate your work. A perfect standing bandage passes the
"Three C's"
- Check the Ends: You should see about a half-inch of the white No-Bow wrap visible at
both the top and the bottom of the track bandage. If the track bandage goes over the
edge of the padding, it can cut into the horses' skin. - Check the Tension: Give the bandage a gentle tap. It should feel firm, uniform, and
sound like a ripe watermelon. There should be no loose gaps or tight strangling spots. - Check for Wrinkles: Run your hand down the leg. If you feel any lumps or bunching, take
it off and start over. Your horses' tendons will thank you!
Practice Makes Perfect
Wrapping is a muscle-memory skill. Don't be discouraged if your first few attempts look a little
lumpy or unraveled. With a little patience and a couple of Vacs No-Bows, you'll be wrapping like
a top-tier track groom in no time.
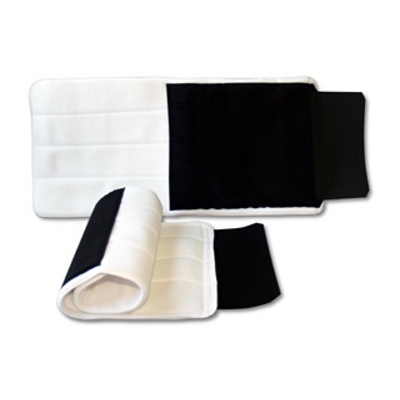
Still nervous about wrapping? The Vacs One Piece No Bow Combo Leg Wraps take the guesswork out of stall bandaging. With secure built-in Velcro closures, there's no need for standing bandages, making them faster, easier, and more consistent to apply. They're a great choice for busy barns, young riders, or horses that constantly pull or chew traditional wraps.